Our living room, while not huge, does boast a pair of oversize windows (well, technically it’s a sliding glass door, but doesn’t go anywhere.) The previous owners installed a nice set of Hunter Douglas Silhouette shades, which I adore. They can be fully open, fully closed, or half-open, which creates the most flattering diffused light. While these shades set the mood for daytime lighting, they really do nothing for our decor.
We scoured stores for affordable curtains to fit our oversized windows, but couldn’t find anything we liked (and could afford!) So, we had our crazy DIY curtain idea and I decided to sew the curtains myself. My mother, in her inifinite wisdom and years of sewing experience, advised otherwise, but I’m stubborn, and went ahead anyways. Here are the results.
First, I needed an oversized curtain rod for the extra wide windows. Again, affordable options were limited and I searched for an alternative. I ran across this great DIY project from Shelterrific, where they used an electrical conduit as a curtain rod. As they suggested, I purchased two 10′ rods (for around $10) and had them cut to half of my window size. I then attached them in the center with a conduit connector. Voila! Instant extra long curtain rod. I used regular curtain rod brackets to keep the rod in place. Thanks for the idea, Shelterrific!
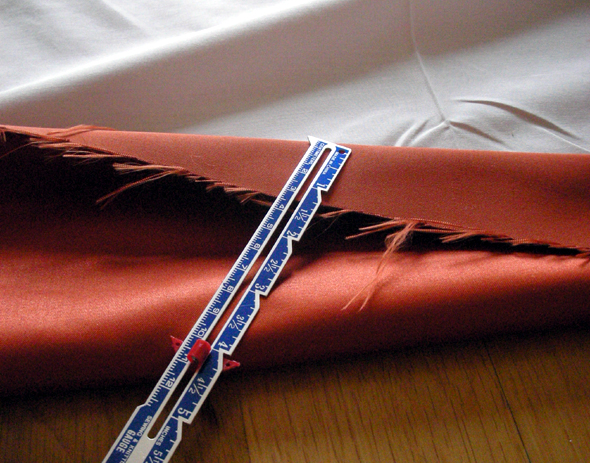
Next, the curtains. While vactioning in India last fall, we picked up some gorgeous rusty orange heavy-weight satin with a subtle sheen. For less than $100, we had curtain fabric, lining fabric and enough extra for matching pillows. It’s good to plan ahead when making trips abroad!
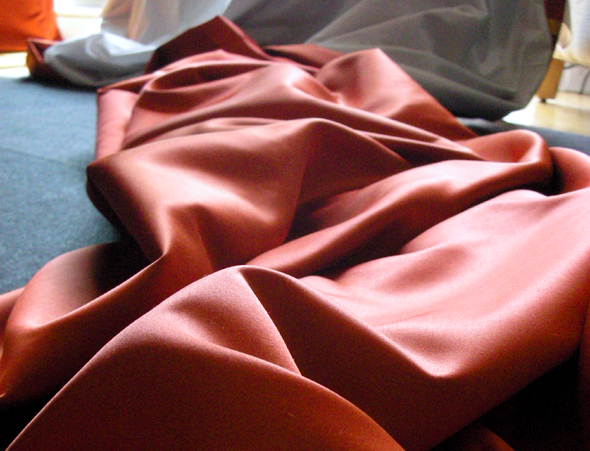
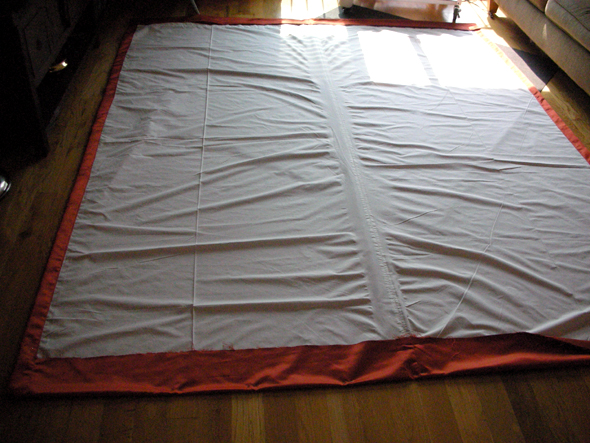
I chose to make hidden tab top curtains. I like the clean look-similar to grommets, but without the messy hardware installation. First, measure and sew the edges of the lining fabric. Then, attach the lining to the main fabric (right sides out) and finish the side edges neatly.
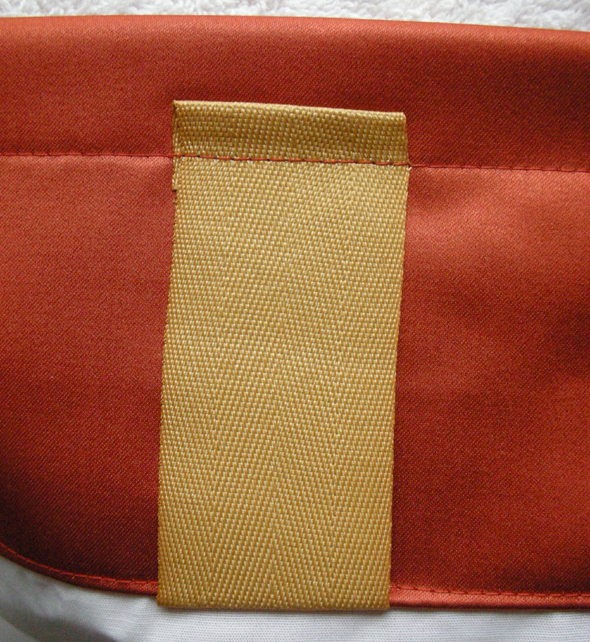
Next, sew the header and the tabs. For this, I basically made “belt loops,” which are sewn into the wide hem of the header. I found that a sturdy grosgrain ribbon makes a great tab (and you don’t have to sew the edges). I spaced my loops about 7″ apart. You should adjust based on the size of the window and curtain.
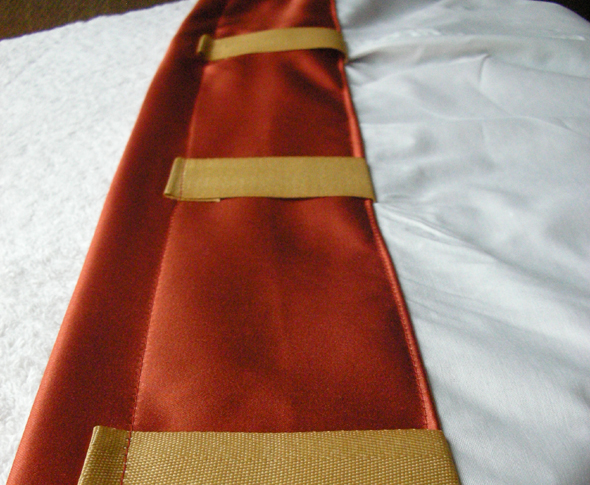
Here’s a close up of the tab.
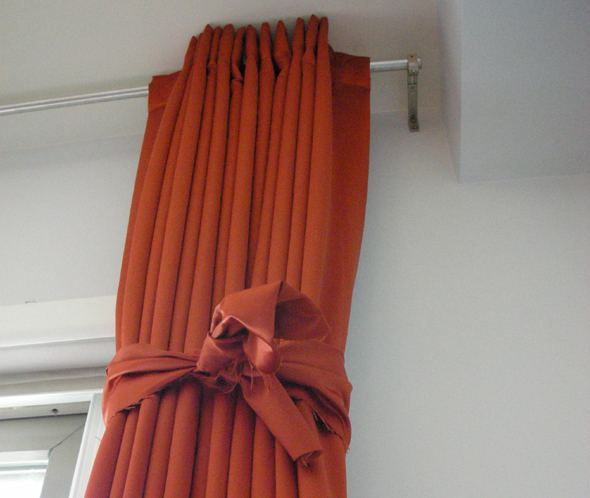
Lastly, hang the curtain on the rod. Then, measure and pin the hem. I found it useful to hang the curtain and pin the hem, to ensure that the curtain just grazed the floor. Remove the curtain, sew the hem and you are all set! Here’s the finished curtain. I tied the panel in place for 24 hours to train the fabric. I imagine a light steaming with the iron would also help.
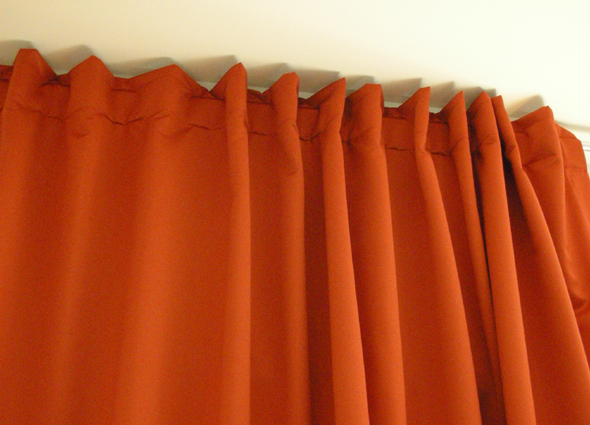
Check out how clean and nice the hidden tab top looks! I love the modern edge-not too fussy.
Sewing your own custom curtains may not be practical for everyone. Don’t despair, you still have options! Before I embarked on my project, I discovered that my local dry cleaner/tailor would sew curtains to my specifications. This is great option if you don’t have a access to a sewing machine (or the patience to do it). So, ask around before you settle on an off-the-shelf product.
Leave a Reply